
A-Z OF CHILDREN’S PORTRAIT PHOTOGRAPHY (H-P)
 You’re back! Ready to learn some more key tips for taking better kids’ portraits, alphabet style? Awesome, let’s jump in then:
Histogram
This one can be a bit of a challenge – in simple terms the histogram is a visual representation of the tones in your image. Learning how it works can help you avoid areas of your image that are too bright or too dark.
ISO
This represents the sensitivity of your sensor, you can increase it to help out when you are working with less light or fast shutter speeds.
JPEG
There are generally two types of files that an image can be saved as: .jpeg or .raw. RAW files give you more flexibility for editing after the fact, but for more everyday photographers the .jpeg file will more than adequate (and use up less memory card space).
Kids
You can’t take kids’ portraits without some kids! The trick is to (for the most part) find a time when you’re going to have happy, cooperative kids, as well as finding an interesting place as a setting for your images.
LCD Screen
You probably know what this is – the little TV on the back of your camera – but do you know how to use it? Other than navigating menus and reviewing your images, your camera’s LCD screen can often be adjusted to add a range of helpful information, such as your histogram.
Metering
This is an indication of your exposure, the amount of light coming into your camera. Your camera has different metering modes to calculate the “correct” exposure, but it’s not always right (and open to your own artistic interpretation) so you’ll want to learn how to adjust the exposure when needed.
Noise
When you increase ISO sensitivity, you might notice a graininess to your images, referred to as noise. The trick is to use the lowest ISO possible to get the correct exposure and avoid noise. For the most part your camera will adjust ISO automatically, but it’s a good idea to learn to adjust it manually.
Overexposure
When your image turns out too bright, this is overexposure. It can happen when you have parts of your image that are bright, while the rest is dark – by aiming for the middle your camera overexposes the bright area. You can manually adjust your exposure, if needed.
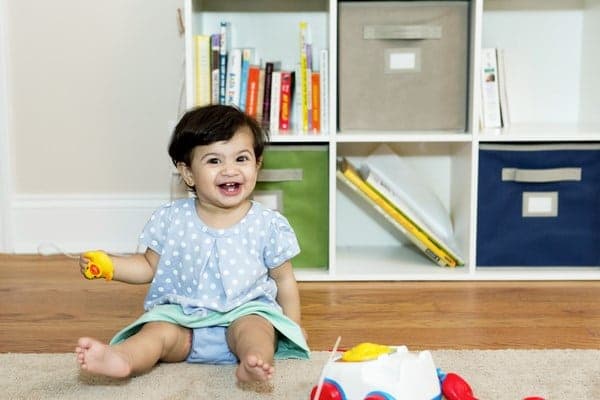
Props
Does your kids’ portrait image seem a little…blah? Perhaps adding some props will help up the interest factor. An umbrella, some balloons, a big ball, or even just some fun clothes can make all the difference sometimes.
Hopefully you learned a few fun new tips – check back next week for more!
