KID’S PHOTO BASICS: STOP CENTERING! (MOST OF THE TIME)
May 20, 2016

If there’s one rule that can immediately affect how “good” your kid’s photos turn out, it’s the conscious decision to stop putting your subject (this includes your child) in the center of your image. Seriously!
Right now you’re probably thinking “but they’re the most important part of the shot, why wouldn’t I want them in the middle?” It seems logical, but the simple truth is that when things are centered, they are boring, and the last thing you want is a boring image, right?
Great kid’s photos are all about space, which gives the person looking at your image more room to “look around” and find your subject. This process helps to engage them with your image, so they look at it longer. Make sense so far? The problem when you center your subject is that it doesn’t give the viewer anywhere else to look – their eye immediate lands on the subject and that’s it, no interaction and they move off to another image.
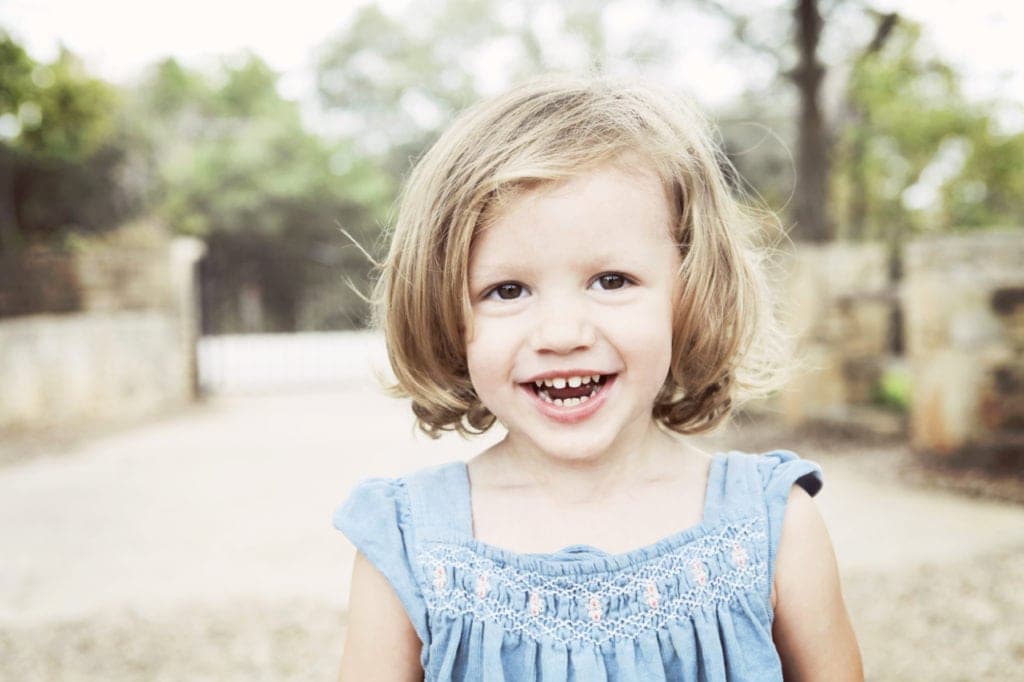
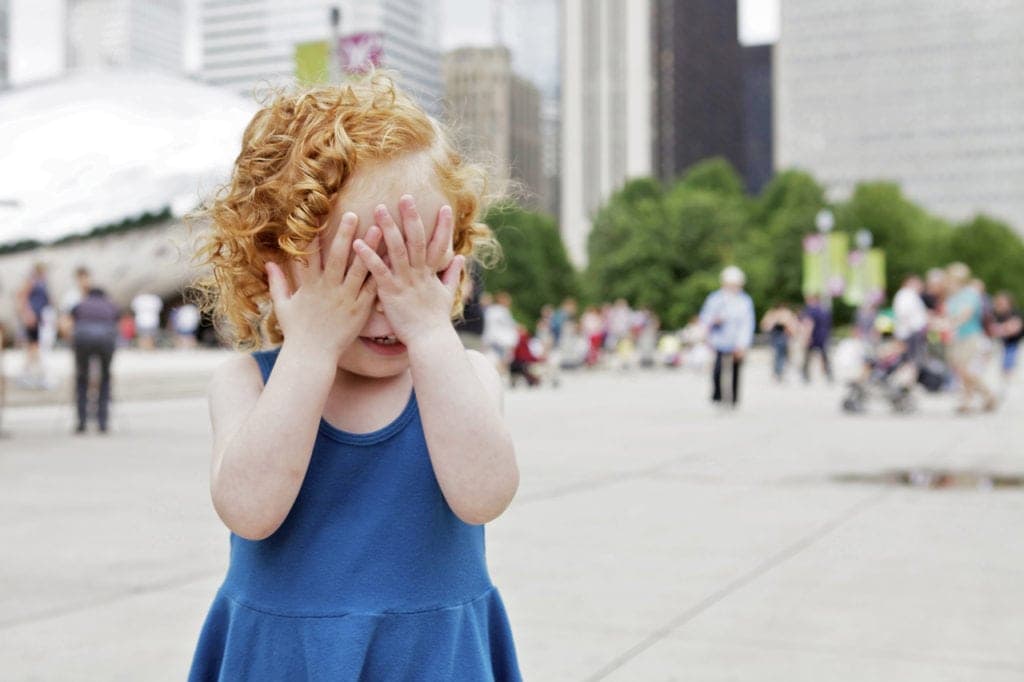
Here is an example of centered vs. non-centered:


Exercise: Try to duplicate the above image (or create your own composition) – first with your child or subject right in the middle of the frame, then another image with them off to one side. Which image strikes you as more interesting?
If you’ve read about the rule of thirds, you’ll have a good idea of where you should be placing your subject, particularly their eyes in the case of a portrait photograph. If they’re facing to the right, put them on the left, and vice-versa to give them more space on the side where they are facing.
This same principle can be applied to any type of photography: flowers, pets, cars, landscapes, etc. Whatever is the most important part of your image (the subject or focal point) – place it using the rule of thirds, not in the center. Give the viewer the chance to explore and discover your subject within the image, instead of it being right there in the middle.

But wait! There’s one place where this rule doesn’t always apply (gasp), and that’s when you’re working with a subject that is perfectly symmetrical. Before you ask, people’s faces aren’t perfectly symmetrical. Examples here include a dock extending into the water, the front of a building (and other architecture), paths or roadways that end on the horizon, etc. By centering these types of subjects you encourage the viewer to follow the path before them and find out where it leads.

However, if you can get faces centered with eyes looking at the camera and in focus you can get a great photo that’s memorable, rather than boring. So try it both ways.
Give it a try! The next time you have your camera out, tell yourself “I will not center my subject, I WILL NOT center my subject” – and then check out the difference.