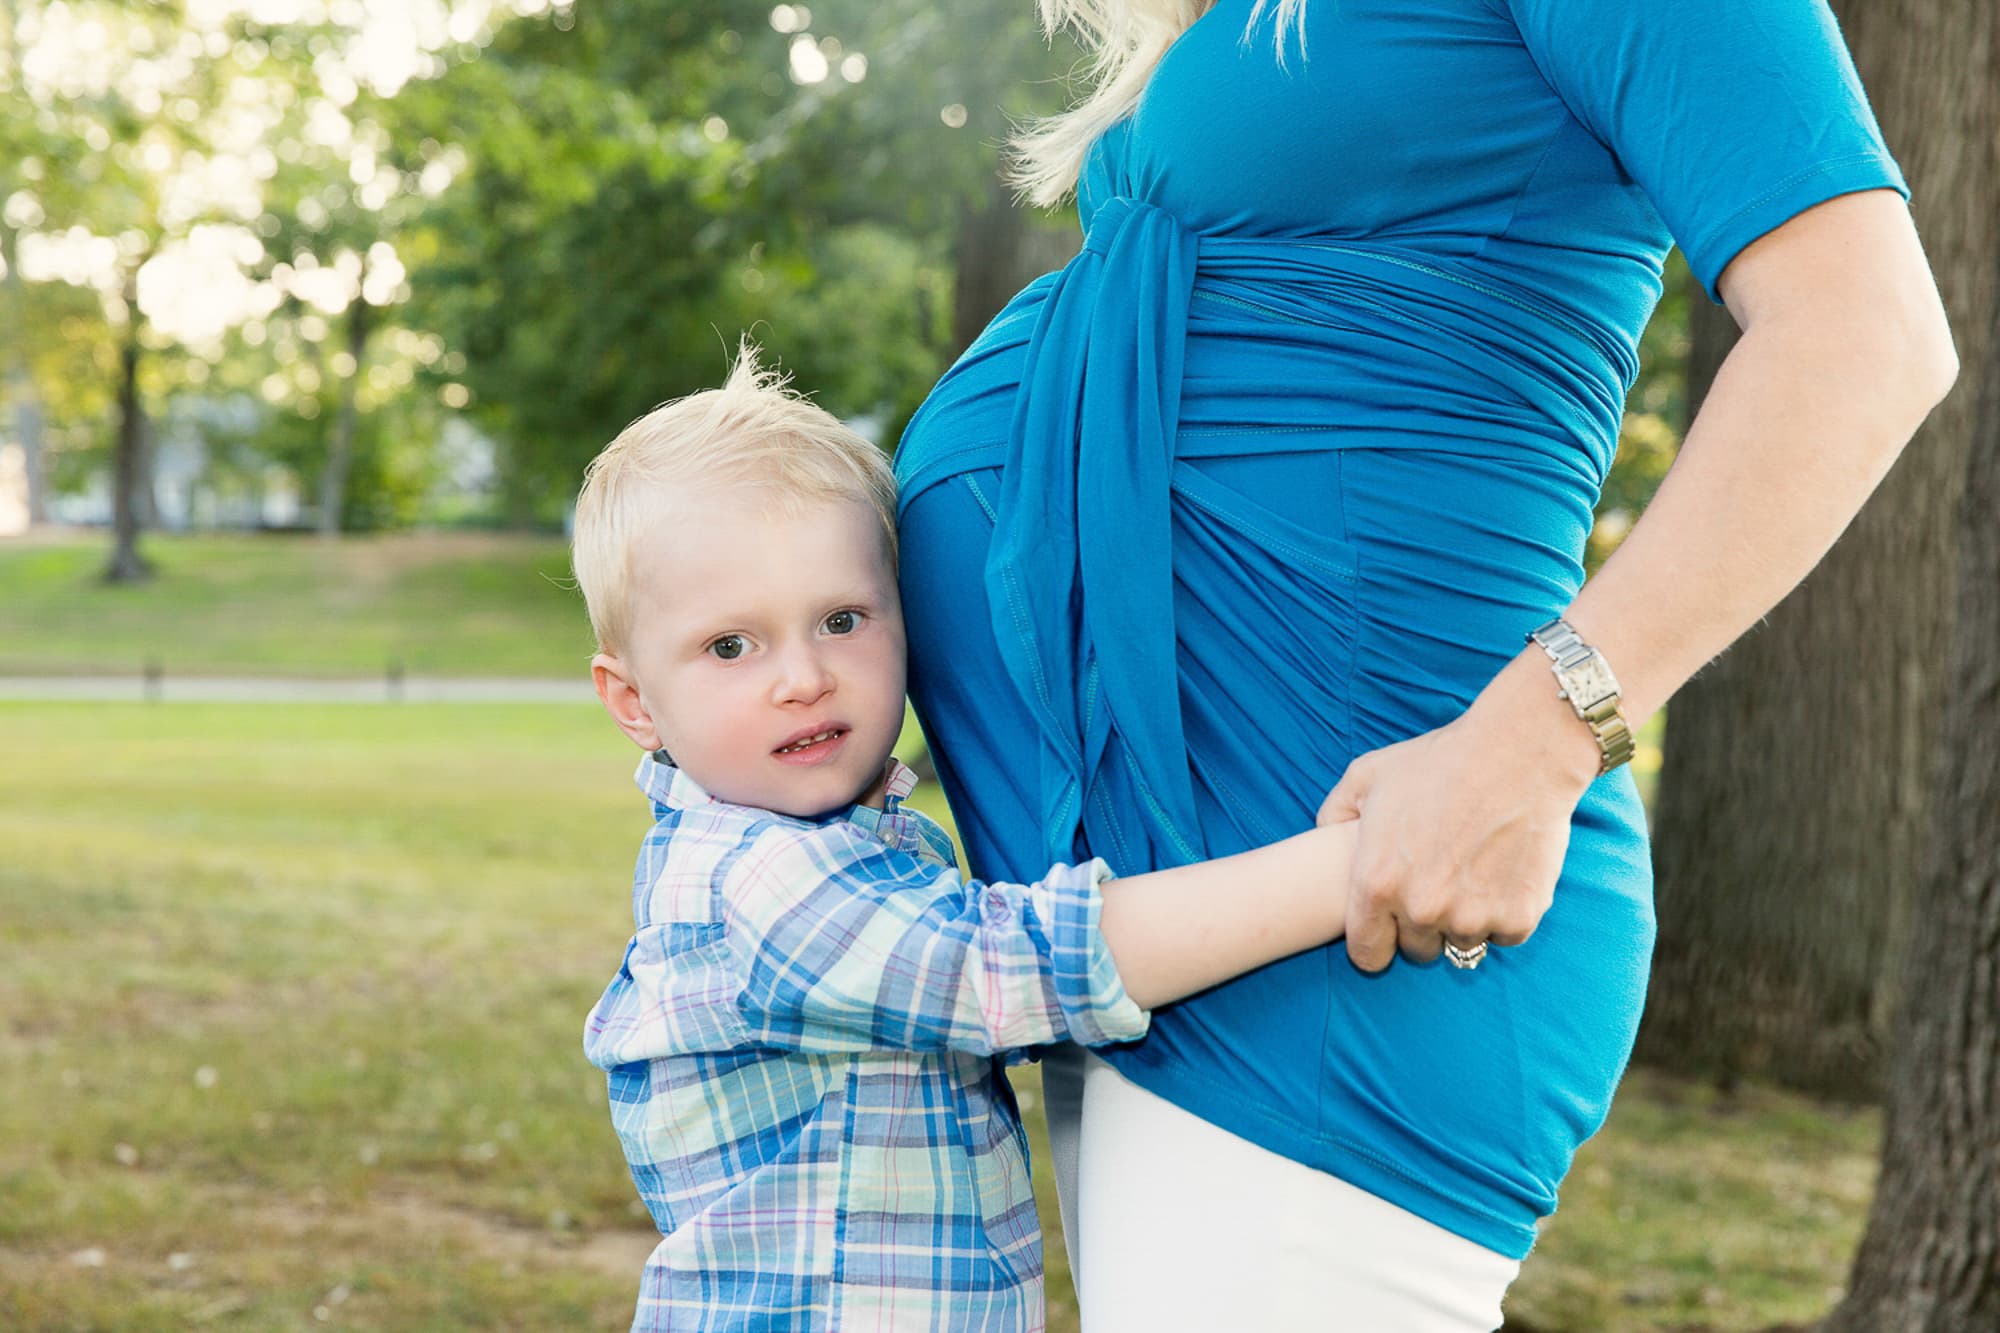
TIPS FOR DIY MATERNITY PHOTOS
May 27, 2017
 While we all wish we could have a professional photographer on hand for all of our major life events; engagement, wedding, maternity, birth, etc., it’s not always possible (or affordable) to do so. In the event that you decide to take your own maternity photos, here are some tips:
Tip One: Think About Timing
Aim to schedule your maternity photos for between 30 and 36 weeks, which will give you a nice bump without being too uncomfortable, or risking early labor and missing out entirely! As for time of day, you want good lighting, but you also want to feel good too.
Tip: If you’re afraid of early delivery, start taking maternity photos at 20-25 weeks and repeat every few weeks, just in case.
 Tip Two: Set the Setting
Find somewhere peaceful and relaxing for your photos, such as outdoors in a beautiful field or park. If you’re due in the winter, aim to take photos in the fall before it becomes too cold. Later in the day is the best time for photos, with soft, warm light. If you have a nice, well-lit room in your home, take some time to set it up for your photo shoot with a white sheet and some lamps or framed against a window for a silhouette.
 Tip Three: Introduce a Few Props
A few props can add interest to a maternity photo shoot; ribbons, balloons, baby shoes. Some other props could include a sign with the baby’s due date, or you can even get inventive with some paint on your stomach, wood blocks, etc. It’s your choice – include props, or not, or do both! Also, don’t forget to include your partner – if he/she wants to be part of the picture.
Tip Four: Choose Equipment
You don’t need fancy equipment to create a good maternity photo; all you need is the right accessories. A tripod with a flexible head so you can position it where you want it will be a lifesaver – even if it’s just a tabletop model. You can use your camera timer to get in place before taking the shot or use a cable-trigger. Linking your camera to your laptop to view photos immediately can help you make small adjustments – rather than having to get up, adjust, and then get back into place (we all know at this point in the pregnancy mobility is not exactly great and you don’t want to be on your feet forever).

Tip Five: Select Your Settings
First, set your self-timer so you have a chance to prepare before your camera fires. Next, set your autofocus. It can help to place something in the spot where you’ll be to focus on, such as a stuffed animal. Once you have the focus you can turn your autofocus off (the switch is on the side of your lens), so the focus stays locked. Alternatively, you can check for a delay on the timer, so you have time to get into place.
Use an Aperture Priority setting (Av) or portrait mode, and select an aperture that’s wide, but not too wide (f/5.6 to f/8, or so). This should keep you sharp in the frame, but blur out the background. Finally, set your camera to multiple exposures (if available) so you don’t have to get the perfect shot the first time. If you are including your face, using this feature can help avoid getting nothing but blurry photos or blinky eyes.
Tip Six: Evaluate your Shots (and Others)
There are a ton of different maternity shots you can experiment with; check out this Pinterest board for some inspiration. Full-body, torso, belly only, fully clothed, partially clothed, nude, it’s up to you and your comfort level. Keep experimenting until you get some shots that make you happy. Alternatively, work with a friend or your spouse to help get the shots you want, or hire a professional maternity photographer if that’s more your style (but book early!).
Don’t for get to pin this post so you can refer to it later!
